Send transactions
In this article, we will teach you how to send transactions in Wagmi. We will re-use the project from the Connect Wallet guide and use the useSendTransaction and useWaitForTransactionReceipt hooks.
Code Example
We will focus our attention on the SendTransaction component, which is essentially just an HTML Form allowing us to send some ETH to other accounts:

After you enter the values into it and click the "Send" button – you will get a transaction to sign in your wallet and a link to the Explorer with the transaction hash will appear below that form.
Let's take a look at the code sandbox here:
useSendTransaction hook
To send a transaction you will need to use useSendTransaction hook like this:
import { useSendTransaction } from 'wagmi';

export function YourComponent() {
  const {
    data: hash, // transaction hash
    error, // used to catch some errors
    isPending, // check if the transaction is in Pending state
    sendTransaction, // function to call to send a transaction
  } = useSendTransaction();

  ...
  async function submit(e: FormEvent<HTMLFormElement>) {
    ...
    sendTransaction({ to, value: parseEther(value) });
  }

  ...
  return
      //calling sendTransaction function onSubmit
    <form className="set" onSubmit={submit}>
      <input name="address" placeholder="Address" required />
      <input name="value" ... required/>
    </form>
}
The main actor here is sendTransaction function. You can read more about its parameters here.
You can also pass data argument to it to call a contract write method.
Please read more about how to encode that field in the official Ethereum docs.
You can read more about catching errors and using transaction statuses in the official Wagmi guide. Or just read the code example in StackBlitz widget above.
useWaitForTransactionReceipt hook
After sending a transaction - we need to wait to it to be finalized or, in other words, wait for the receipt. That is the moment we will want to use useWaitForTransactionReceipt hook.
The usage example could look like this:
import { useWaitForTransactionReceipt } from 'wagmi';

export function YourComponent() {
  const {
    data: hash, // transaction hash
    ...
  } = useSendTransaction();

  const { data: receiptData, isLoading: isConfirming, isSuccess: isConfirmed } =
    useWaitForTransactionReceipt({
      hash, // the hash from SendTransaction hook is used here
    });

  ...
  return
      //using isConfirming and isConfirmed statuses in UI to track progress
      <>
      {isConfirming && <div>Waiting for confirmation...</div>}
        {isConfirmed && <div>Transaction confirmed.</div>}
      </>
}
When a transaction is accepted and included in a block you can find the receipt information in the data field.
Your transaction in Explorer
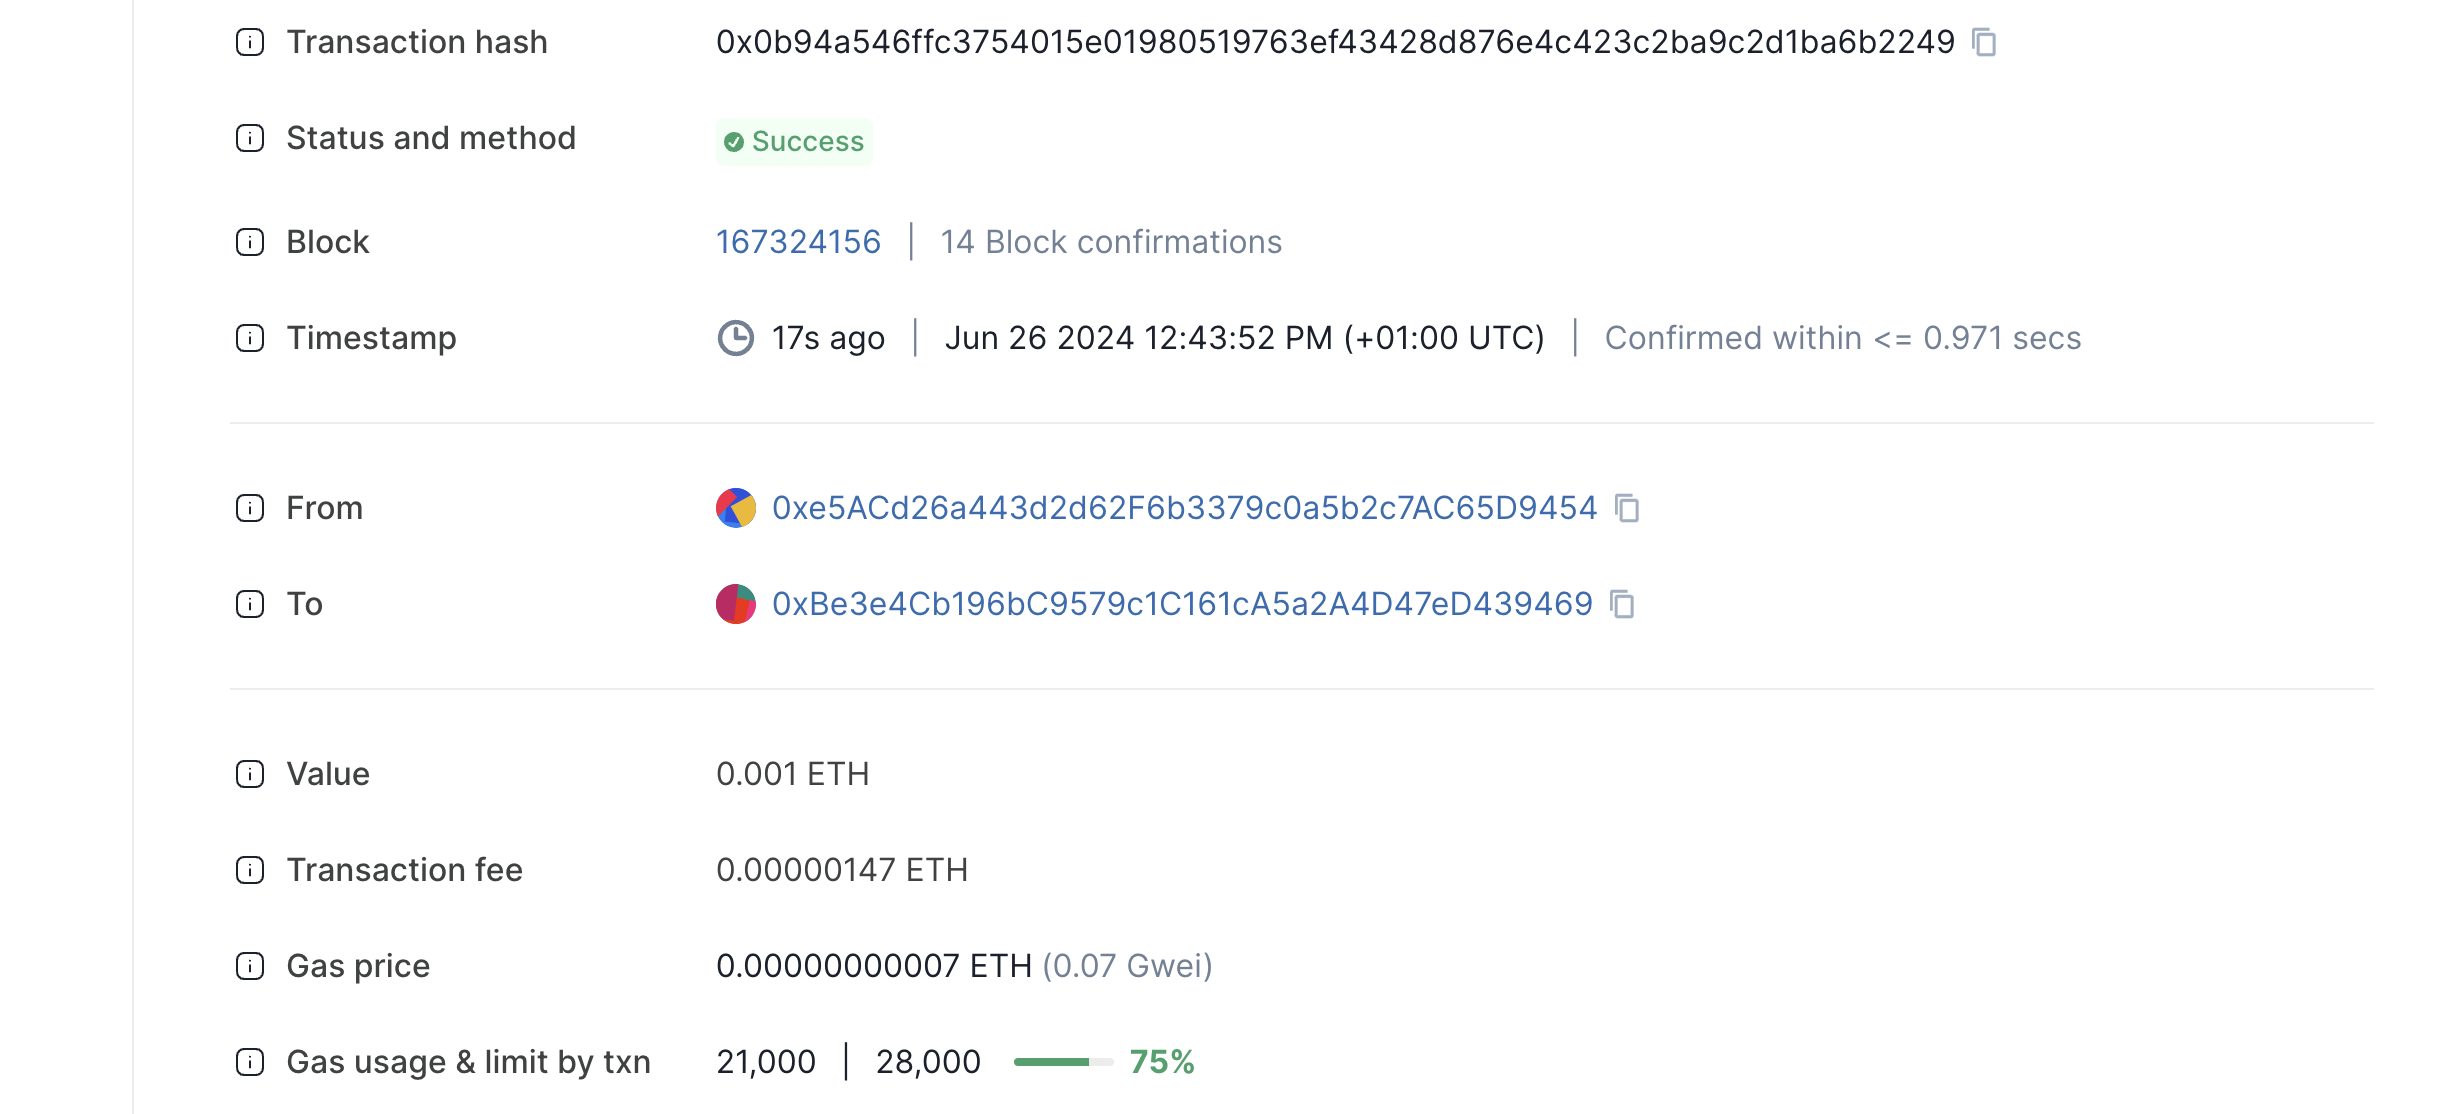
After the transaction will be processed, you will get a link to the Explorer page with all information about it:

If you click on it, you will get an Explorer window opened in a new tab:

You will see all the info about the transaction there and can also track your activity there.